Table of Contents >> Show >> Hide
- Why Shower Curtain Liners Get Gross (So Fast)
- The Easiest Method: Wash It in the Washing Machine
- Quick Clean Without Taking It Down (When You’re Being “Efficient”)
- If It’s Really Mildewed: The “Soak Then Wash” Upgrade
- Hand-Wash Method (If Your Liner Can’t Go in the Washer)
- How Often Should You Clean (or Replace) a Shower Curtain Liner?
- Prevention Tips: Keep It Cleaner Longer
- FAQ: Shower Curtain Liner Cleaning Questions People Whisper to the Internet
- of “Yep, Been There” Experiences (And What Actually Worked)
- Conclusion
Your shower curtain liner has one job: keep water in the shower. Unfortunately, it also moonlights as a
five-star resort for soap scum, hard-water minerals, and mildew. If yours is sporting that lovely “orange
stripe” at the bottom (you know the one) or giving off a faint “basement chic” aroma, don’t toss it yet.
The easiest way to clean a shower curtain liner is shockingly simple: let your washing machine do the heavy
liftingthen hang it back up like nothing happened.
Below is a no-drama, low-effort method that works for most plastic, vinyl, PEVA, and EVA liners. I’ll also
cover quick spot-cleaning, what to do when mildew has moved in permanently, and how to keep your liner clean
longer so you’re not doing this every time the moon is full.
Why Shower Curtain Liners Get Gross (So Fast)
Liners live in the splash zone: constant moisture + warmth + leftover body oils + product residue (conditioner,
anyone?) = a perfect environment for buildup. Soap scum forms when soap combines with minerals in water, and
that filmy layer gives mildew something to cling to. Add a bathroom with poor ventilation, and mildew can show
up before you’ve finished your “quick shower” playlist.
The Easiest Method: Wash It in the Washing Machine
If your liner is machine-washable (most are), this is the fastest, least annoying way to get it clean with minimal
scrubbing. The secret weapon is old towels: they provide gentle friction so your liner doesn’t just
slosh around like a sad plastic jellyfish.
What You’ll Need
- 1 shower curtain liner
- 2–3 old bath towels (white or colorfast)
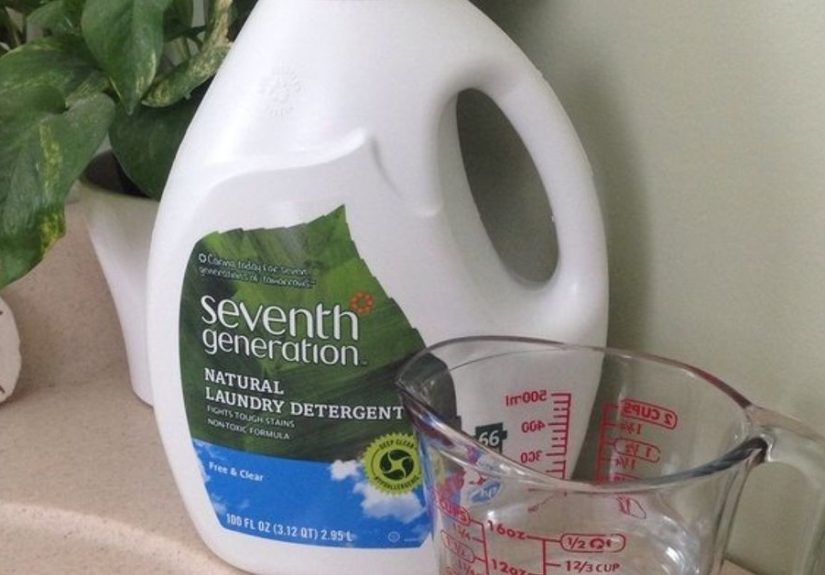
- Mild laundry detergent
- Optional booster (pick ONE): baking soda, white vinegar, or bleach (for white/clear liners only)
Step-by-Step: Machine-Wash Your Shower Curtain Liner
- Take it down and give it a quick shake.
This removes loose hair, dust, and whatever else the bathroom gremlins deposited. - Check the label (seriously, 10 seconds).
If it says “machine wash,” you’re golden. If it says “wipe clean only,” skip to the hand-cleaning method below. - Put the liner in the washer with 2–3 towels.
The towels help scrub the liner and keep it from wrinkling into a plastic origami disaster. - Add detergent.
Use a small-to-normal amount. Too much detergent can leave residuebasically replacing soap scum with “laundry scum.” - Choose a gentle cycle with cool or warm water.
Hot water can warp some plastics. Gentle + high water level (if you can choose it) is your liner’s comfort zone. - Add ONE optional booster (choose your adventure):
- Baking soda (odor + light grime): Add about 1/2 to 1 cup to the wash.
- White vinegar (soap scum help): Add about 1/2 to 1 cup in the rinse dispenser or during the rinse cycle.
- Bleach (disinfect + heavy mildew on white/clear only): Use the bleach dispenser and follow product directions.
- When it’s done, hang it back up to air-dry.
Do not put most plastic liners in the dryer. Heat can warp, melt, or turn your liner into a wavy modern art installation.
The One Safety Rule You Must Follow
Never mix bleach and vinegar. Not in the same load, not in the same bucket, not even in the same “I’m sure it’ll be fine” mindset.
If you use bleach, use bleach only (plus water and detergent as directed). If you use vinegar, don’t add bleach. Pick one.
Quick Clean Without Taking It Down (When You’re Being “Efficient”)
If your liner is only lightly funky, you can clean it while it hangs:
- Pull the liner fully closed so it hangs flat.
- Spray a mix of 1 part vinegar to 4 parts water on the liner, especially the bottom edge.
- Let it sit for 5–10 minutes.
- Gently scrub problem spots with a soft brush or microfiber cloth.
- Rinse with warm water and leave the curtain spread out to dry.
This won’t erase years of mildew crimes, but it’s great for maintenance and can delay the need for a full wash.
If It’s Really Mildewed: The “Soak Then Wash” Upgrade
For liners with visible mildew spots or stubborn scum at the hem, do a quick pre-soak before machine washing.
Think of it as giving your liner a spa day… except the spa is your bathtub, and the playlist is the washing machine.
Option A: Vinegar Soak (Good for Soap Scum + Mild Mildew)
- Fill the tub with warm water (enough to submerge the liner).
- Add 1–2 cups white vinegar.
- Soak 15–30 minutes.
- Scrub the bottom edge lightly, then rinse.
- Machine wash using the towel method above (no bleach).
Option B: Bleach Soak (For White/Clear Liners Only)
- Ventilate the bathroom (fan on, door open).
- Fill the tub with cool-to-lukewarm water.
- Add bleach according to label directions for soaking/disinfecting.
- Soak briefly, then rinse thoroughly.
- Machine wash with towels to remove remaining residue.
If your liner is colored or printed, skip chlorine bleach unless the care label explicitly says it’s safe. Bleach is not a subtle character.
Hand-Wash Method (If Your Liner Can’t Go in the Washer)
Some liners (or certain finishes) prefer hand-cleaning. It’s still simplejust a little more “arm day.”
- Lay the liner flat in the tub.
- Sprinkle baking soda on a damp microfiber cloth (or make a paste with baking soda + a little water).
- Scrub the liner, focusing on the bottom edge and any visible spots.
- Rinse thoroughly with warm water.
- Hang to dry fully, spread out so airflow can do its thing.
How Often Should You Clean (or Replace) a Shower Curtain Liner?
A realistic schedule for most homes:
- Light maintenance: spray/wipe weekly or every couple of weeks
- Full clean: about once a month (more often in humid bathrooms)
- Replace: roughly every 6–12 months, or sooner if it’s torn, sticky, permanently stained, or still smells after cleaning
Signs It’s Time to Replace, Not Rescue
- It has rips or holes (water is now winning)
- It feels sticky, brittle, or permanently cloudy
- Musty odor returns immediately after cleaning
- Mold stains are embedded and won’t lift
Prevention Tips: Keep It Cleaner Longer
Cleaning is great. Not having to clean as often is even better. These habits make a huge difference:
- Run the exhaust fan during showers and for 15–30 minutes after.
- Spread the liner out after every shower so it dries faster (don’t leave it bunched up like a wet raincoat).
- Keep airflow moving: crack the door, open a window if you have one, or use a small dehumidifier in very humid bathrooms.
- Squeegee or towel-dry the tub wall area and the liner hem occasionally to prevent buildup.
- Use fewer product “extras” in the shower (or at least rinse the liner after heavy conditioner days).
FAQ: Shower Curtain Liner Cleaning Questions People Whisper to the Internet
Can I put a plastic liner in the dryer?
Usually, no. Heat can warp or melt plastic and vinyl. Air-drying is safest. If a source suggests a very brief,
low-heat tumble to remove excess moisture, that should only be done if the care label allows itand never unattended.
When in doubt: hang it up.
Is vinegar safe for washing machines?
Occasional use is common, but some appliance and cleaning experts caution that frequent vinegar use may degrade
rubber hoses or seals over time. If you use vinegar, keep it occasional and use it in the rinse cycle rather than mixing
it with detergent. A safer long-term approach is regular detergent plus periodic baking soda, and reserving vinegar for
targeted grime.
What about hydrogen peroxide?
Hydrogen peroxide can help with mildew on some surfaces, but liners vary by material. If you try it, patch-test first,
rinse well, and don’t mix it with other cleaners unless you’re 100% sure it’s safe. “More chemicals” doesn’t equal “more clean.”
of “Yep, Been There” Experiences (And What Actually Worked)
Let’s talk real life, because shower curtain liners don’t get gross in a vacuumthey get gross in bathrooms where humans
are sprinting through mornings, ignoring fans, and pretending steam is a personality trait.
Experience #1: The “Orange Stripe of Doom” Apartment Bathroom. You move into a rental, and the liner looks fine from five feet away.
Then you step into the shower and notice the bottom hem is tinted a lovely shade of “traffic cone.” That’s usually a cocktail of
soap residue, hard-water minerals, and early mildew. The easiest fix in that scenario is the towel-in-the-washer method with a gentle
cycle and baking soda. The towels provide just enough friction to lift the line without you having to scrub like you’re trying to erase
history. After washing, hanging it fully spread outno bunchingoften prevents the stripe from coming right back.
Experience #2: The Busy Family Bathroom That Never Dries. In a high-traffic bathroom (multiple showers a day), liners stay damp longer,
especially if the curtain gets pushed into a corner and left there like a defeated flag. In these bathrooms, the “cleaning” isn’t the
hard partthe drying is. People who see the biggest improvement tend to do two tiny habits: run the fan longer and pull the liner fully
closed after showers so air hits the whole surface. With those habits in place, a monthly machine wash becomes maintenance instead of an
emergency.
Experience #3: The “I Only Use Natural Products” Household. Vinegar gets a lot of love because it’s simple and effective on soap scum.
A vinegar-and-water spray used occasionally can help freshen the liner without taking it down. The trick is not expecting vinegar to do
everything instantly. Let it sit a few minutes, scrub lightly, and rinse. If mildew is advanced, vinegar alone may not fully remove staining
at that point, it’s either a stronger disinfecting approach (compatible with the liner) or replacement.
Experience #4: The Dorm or Starter Home Laundry Setup. You’ve got a shared washer, questionable lint traps, and exactly zero patience.
The towel method is still your best friend because it keeps the liner from balling up, and it gets the job done in one cycle. The most common
“oops” here is tossing the liner in alone, using too much detergent, and ending up with a filmy liner that attracts more gunk. Less detergent
and a gentle cycle usually solve that.
Experience #5: The “I Cleaned It… Why Does It Still Smell?” Mystery. If a liner has a persistent musty odor even after washing, it’s often
because it didn’t dry quickly enough afterward, or the material has started breaking down and holding odors. In that case, hanging it fully open,
improving ventilation, and giving it a second rinse can helpbut sometimes the most sanitary, sanity-saving move is replacing it. A new liner plus better
drying habits can feel like upgrading your whole bathroom without touching a single tile.
Conclusion
The easiest way to clean your shower curtain liner is to machine-wash it with a couple of towels, use gentle settings, and hang it right
back up to air-dry. Add baking soda for odors, vinegar for soap scum (occasionally), or bleach for heavy mildew on white/clear linersnever together.
Do that monthly (or as needed), keep the liner spread out to dry after showers, and you’ll spend a lot less time battling that bottom-edge grime line.
Your shower should smell like “fresh,” not “science experiment.”


