Table of Contents >> Show >> Hide
- Why Crotch Fit Goes Wrong
- Before You Sew: Diagnose the Problem First
- Can You Alter Ready-to-Wear Slacks in the Crotch?
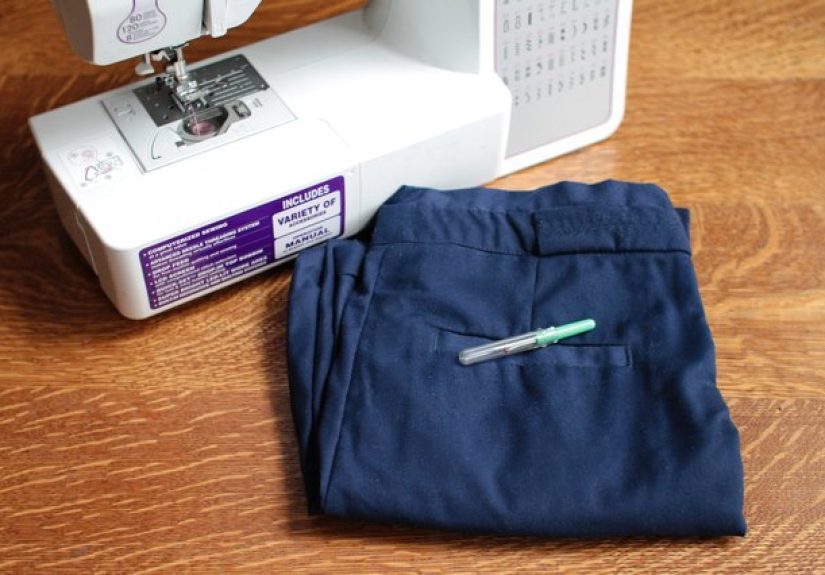
- Tools You Will Need
- Method 1: Remove Excess Fabric From the Front Crotch
- Method 2: Add Room When the Crotch Feels Tight
- Method 3: Reshape the Crotch Curve
- Method 4: Fix the Real Problem: Thigh or Seat
- Pressing, Reinforcing, and Finishing
- Common Mistakes to Avoid
- When to Take the Slacks to a Professional Tailor
- The Best Way to Test Your Alteration
- Experience Notes: What People Usually Learn After the First Crotch Alteration
- Conclusion
- SEO Tags
Let’s start with the truth every sewer, tailor, and mildly irritated pants-owner learns sooner or later: if slacks fit badly in the crotch, the whole garment feels wrong. You can forgive a waistband that is a little snug. You can tolerate a hem that is a little long. But a crotch that pulls, sags, wrinkles, pokes, or rides up? That becomes a full-time emotional event.
The good news is that crotch alterations are usually fixable. The less cheerful news is that they are not random. You cannot just sew “something smaller” and hope the pants suddenly become sophisticated. Crotch fit is part geometry, part body shape, part fabric behavior, and part detective work. Once you understand what the wrinkles are telling you, altering slacks in the crotch becomes much less mysterious and far less dramatic.
This guide explains how to alter slacks in the crotch with practical, real-world methods. You will learn how to diagnose the problem, decide whether ready-to-wear slacks can be altered at home, and choose the right fix for excess fabric, tightness, drag lines, and awkward pulling through the front or back rise. In other words, this is not just “how to sew the seam again.” This is how to make the pants actually behave.
Why Crotch Fit Goes Wrong
When people say “the crotch is off,” they usually mean one of four things: the crotch is too long, too short, the crotch curve is shaped incorrectly, or the real problem is not the crotch at all but the seat or upper thigh. Slacks are built around a relationship between the front rise, back rise, crotch depth, inseam, and hip and thigh area. If one part is out of balance, the fabric tattles immediately.
That is why crotch problems rarely show up as one neat little wrinkle. You might see smiling drag lines, frowning drag lines, bunching under the seat, vertical pulling in front, a zipper that refuses to lie flat, or fabric that seems determined to move north no matter how often you pull the pants down. Charming.
The goal is not to make the crotch area vacuum-sealed. Good slacks need enough ease to let you sit, walk, and bend comfortably. The goal is balance: enough room where the body needs room, and no extra fabric where it does not.
Before You Sew: Diagnose the Problem First
Check the fit correctly
Try on the slacks fully closed, with the shoes and undergarments you would normally wear. Stand naturally. Sit down. Walk a few steps. Then look at the front, side, and back in a mirror. A lot of bad alterations happen because people pin pants while half-zipped, twisted, or worn too high or too low on the waist.
Read the wrinkles like clues
- Front drag lines pointing downward like a frown: the front crotch is often too long.
- Front drag lines pointing upward like a smile: the front crotch is often too short and needs more length.
- Vertical pulling or digging at the front seam: the front crotch curve may need more depth.
- Horizontal wrinkles across the front crotch: the front curve may be too deep or too prominent for the body shape.
- Back waist tugging down and lines pointing to the back crotch: you may need more room through the seat or back rise.
- Bagginess under the seat: the back area may be too roomy, or the rear shape drafted into the slacks does not match the body.
- Diagonal pulling across the upper thigh: the issue may be the thigh, not the crotch.
This step matters because the wrong fix can make the right problem worse. Take in a crotch seam when the pants really need more thigh room, and suddenly you own a new pair of slacks that hates you personally.
Can You Alter Ready-to-Wear Slacks in the Crotch?
Sometimes yes, sometimes no, and sometimes only if you are willing to get creative. Ready-to-wear slacks can usually be altered in the crotch if they have enough seam allowance, a simple construction, and fabric that tolerates unpicking and resewing without showing every former stitch like a crime scene outline.
Wool suiting, lined dress pants, permanent-press fabric, velvet, leather, and tightly finished trousers are less forgiving. Expensive tailored slacks may also have construction details that make home alteration a pain. If the pants are more than a size off, or if the crotch problem is tied to major imbalance in the waist, seat, and thigh all at once, a full recut or professional tailor may be the smarter path.
Still, many common crotch issues can be improved with surprisingly small changes. A quarter inch here is not “basically nothing.” In the crotch area, a quarter inch can be the difference between elegant trousers and pants with opinions.
Tools You Will Need
- Seam ripper
- Matching thread
- Sharp pins
- Tailor’s chalk or washable marker
- Flexible ruler or curved ruler
- Hand-basting needle
- Iron and pressing cloth
- Measuring tape
- Optional: scrap fabric for a gusset if more room is needed
A flexible ruler is especially helpful because crotch fit is about curve shape, not just measurement. Straight rulers are wonderful for many things, but this is a curved negotiation.
Method 1: Remove Excess Fabric From the Front Crotch
This is the fix for slacks that wrinkle, sag, or pouch at the front crotch because there is simply too much length or width there.
How to do it
- Turn the slacks inside out and put them on carefully.
- Pin out a narrow wedge along the front inseam and crotch area where the excess is pooling.
- Start small. Think in increments of about 1/8 inch to 1/4 inch.
- Mark the new stitching line with chalk.
- Take the pants off, hand-baste the line, and try them on again.
- If the front looks smoother and the fabric hangs better, stitch the new seam permanently.
- Trim only if needed, and finish the seam neatly.
Blend the new line gradually into the original inseam. Do not create a sharp little angle at the crotch point unless your goal is to invent a brand-new fit problem. Smooth transitions are everything here.
Method 2: Add Room When the Crotch Feels Tight
If the slacks feel tight, ride up, or form upward drag lines, the crotch may be too short or too shallow. In plain English, the pants need more room to travel around the body.
If there is seam allowance
Unpick the crotch seam and inseam where needed. Let out the seam slightly, concentrating near the crotch point and blending smoothly down the inseam. Baste first, try on again, and then stitch permanently. This works best when the manufacturer left enough fabric inside the seam, which is not always a guarantee in modern ready-to-wear.
If there is not enough seam allowance
You may need a gusset. A gusset is an inserted piece of fabric that adds room and mobility. It sounds dramatic, but in some cases it is the cleanest fix for slacks that are too tight through the crotch and inner thigh area.
To add a gusset, open the crotch seam, measure the extra room needed while the pants are on the body, draft a small diamond or elongated gusset shape, baste it in place, and test the fit before finishing. Matching fabric makes this nearly invisible on many casual or work trousers. On formal slacks, this is fussier, but still possible in skilled hands.
Method 3: Reshape the Crotch Curve
Sometimes the issue is not overall tightness or looseness. The slacks are simply curved wrong for the body.
Make the front curve deeper
If the front seam digs in and creates vertical pulling, the front crotch curve may need to be scooped out slightly. This adds depth and makes more room through the front. Work in tiny increments and redraw the curve smoothly. A little goes a long way.
Make the front curve shallower
If there are horizontal wrinkles across the front crotch and the shape looks collapsed rather than tight, the front curve may be too deep. In that case, redraw a shallower front crotch curve and remove the excess. This is subtle work, but it can dramatically improve the line of the pants.
Adjust the back curve too
If the back waist is dragged downward or the slacks feel stingy through the seat, extend or reshape the back crotch area. If there is bagging under the seat, you may need the opposite: remove excess and smooth the back rise. The back of the pants often takes the blame late in the process, but it deserves a close look early on.
Method 4: Fix the Real Problem: Thigh or Seat
This is where many alterations finally become successful. A surprising number of “crotch problems” are really upper-thigh or seat problems wearing a fake mustache.
If diagonal lines pull across the thigh, add room there first. If the seat pulls and the back waist drops, add room through the back rise or full seat. If the seat sags, reduce the back area rather than overworking the front crotch. When the body needs space in one area, the fabric steals it from somewhere else. That “somewhere else” is often the crotch seam.
For homemade slacks or custom work, pattern adjustments are cleaner than post-construction rescue. For ready-to-wear, use the existing seams as strategically as possible and test after each change.
Pressing, Reinforcing, and Finishing
A crotch alteration is not finished when the seam is sewn. Press the seam carefully so the area lies flat and natural. If you changed a curved seam, clipping and grading may help reduce bulk, but do not weaken the area. The crotch seam takes stress every time you sit, bend, or stride like you have someplace important to be.
For extra durability, add a second line of stitching or reinforce the curve with seam tape or a narrow stable strip where appropriate. Secure the beginning and end of the seam well. If the original seam allowance is close to the new one, stitching the new line before fully removing the old stitches can help keep everything stable and accurate.
Common Mistakes to Avoid
- Taking in too much at once
- Changing the front when the back is the real issue
- Ignoring thigh tightness
- Skipping basting and going straight to permanent stitching
- Forgetting to test the pants while sitting and walking
- Creating sharp angles instead of smooth curved seamlines
- Assuming every wrinkle means “make it tighter”
The biggest mistake is impatience. Crotch fit rewards calm, methodical work. It does not reward vibes.
When to Take the Slacks to a Professional Tailor
Call in a professional if the slacks are expensive, heavily lined, made of delicate suiting, or require a major change in the seat, rise, and thigh all at once. Also hand them over gracefully if the seam allowances are tiny, the fabric shows needle marks, or you have reached the stage of saying, “I think I made it worse, but in an interesting way.”
A skilled tailor can often rebalance the garment faster than a determined home sewer armed with caffeine and resentment.
The Best Way to Test Your Alteration
After basting, do the following before final stitching:
- Stand naturally
- Sit in a chair
- Walk around
- Bend slightly
- Check the front, side, and back view
The zipper should lie flat, the crotch seam should follow the body without strain, and the pant legs should hang straight. If one alteration improves one view but wrecks another, stop and reassess. One fix at a time is still the golden rule.
Experience Notes: What People Usually Learn After the First Crotch Alteration
The first thing most people discover is that the crotch area looks much worse in their imagination than it does in real life. Before an alteration, people often focus on one wrinkle and convince themselves the pants are unwearable. After a proper fitting session, they realize the issue was not catastrophic at all. It was specific. A tiny wedge removed from the inseam, a slight reshaping of the front curve, or a little extra room added at the back rise can completely change how the slacks hang. The experience is oddly humbling. You spend twenty minutes fearing a disaster and then solve it with what amounts to a very disciplined quarter inch.
The second common experience is learning that the front crotch gets blamed for crimes committed elsewhere. Plenty of people start by pinning the front because that is the area they can see easily in the mirror. Then they try the slacks on again and discover the real issue was a full seat, a flatter rear, a stronger thigh, or simply the pants being worn too high on the waist. This is why experienced sewers become mildly obsessed with body balance and grainlines. The fabric always reveals where it is being asked to do too much work.
Another familiar lesson is that ready-to-wear slacks are often stingy with seam allowance. On paper, letting out the crotch seam sounds simple. In real life, you unpick the seam and find barely enough extra fabric to buy yourself a breath and half a prayer. That is usually the moment people either accept the limits of the garment or discover the beauty of a gusset. A gusset sounds like something from an old sewing dictionary your aunt kept in a drawer, but it can be a practical lifesaver, especially for movement, comfort, and durability.
People also learn that pressing is not optional. A resewn crotch seam that has not been pressed properly looks homemade in the least flattering sense of the word. Once the seam is pressed, blended, and reinforced, the alteration looks intentional and clean. Without pressing, even a technically correct fix can look bulky or twisted.
Then there is the emotional experience, which deserves its own category. Altering slacks in the crotch can feel deeply personal because the area is tied to comfort, body shape, posture, and movement. Many people assume the bad fit means something is “wrong” with their body. The real revelation is that commercial slacks are drafted for an average that does not exist in nature. Real bodies vary in front shape, seat shape, rise preference, thigh distribution, and how they move through the day. Alteration is not failure. It is customization.
Finally, seasoned pants-alterers nearly always end up with the same opinion: once you solve crotch fit on one pair of slacks, future fittings become far less intimidating. You begin to spot the clues faster. You know when to deepen a curve, when to shorten the front, when to leave the crotch alone and adjust the seat, and when to stop before overfitting the garment. That confidence is worth a lot. A good crotch alteration does not just save one pair of pants. It teaches you how trousers are built, how bodies interact with fabric, and how to make clothing feel more like yours from the inside out.
Conclusion
If you want slacks to look sharp, the crotch fit has to work quietly in the background. No pulling, no sagging, no dramatic bunching, no stubborn seam trying to become the main character. The smartest way to alter slacks in the crotch is to diagnose first, adjust in tiny increments, and treat the front, back, thigh, and seat as part of one connected system.
Do that, and even a frustrating pair of slacks can turn into something polished, comfortable, and surprisingly flattering. Which is a lovely outcome for an area of the garment that almost nobody wants to discuss until it goes wrong.


